
General Tab |

|

|

|
|
General Tab |
|
|

|
General Tab |
|
|
|
|
General Tab |
|
|
|
![]()
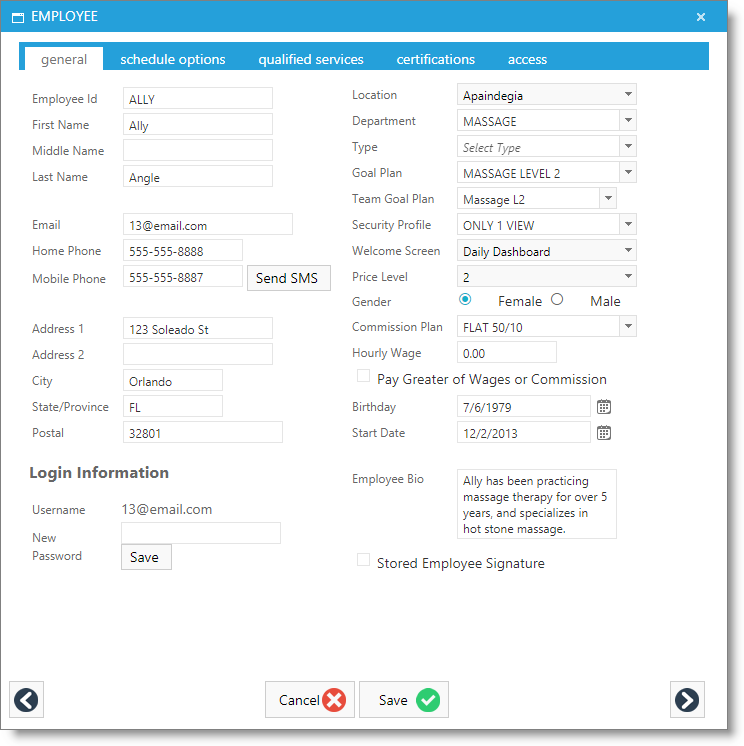
Employee ID
The name that will come up on reports and client ticket information.
First Name / Middle Name /Last Name
Employee's name. This is what will display on the calendar and also for online booking.
Employee's email address. This will be used for login identification.
Home Phone / Mobile phone
Employee's phone contact information.
Send SMS
Select this button to open a screen that will allow you to send an SMS text message to the employee.
Important Note: You must be signed up for the Two-Way SMS feature in order to utilize the SMS text messaging. |
Address/ City/ State/ Postal
Employee's general address information.
Password
Employee's password. This will be used for login authentication.
Location
If you have a multiple location account, this will assign the employee to their "home" location.
Department
The "Department" drop-down allows you to place your employees into separate departments for scheduling and reporting reasons. If you have Stylists, Nail Techs, Estheticians and Massage Therapists, you can place each of these types of employees into separate departments. The department title will also display under the employee's name on the calendar.
Type
You may create or select an Employee Type if your Employee Departments have different types of employees under each department. You may also use this for categorizing your employee. An example of an Employee Type would be Hair Color Specialist, or you may use the Type to specify which level the employee is. It is not necessary to enter an Employee Type.
Goal Plan
Select the employee's goal plan from the selection box. Goals must first be created in the Goal Plan list.
Team Goal Plan
Select the team goal for this employee. Team goals must first be created in the Team Goal Plan list.
Security Profile
Will display which current security profile employee is assigned to. This option may not be available for editing, depending on your security settings.
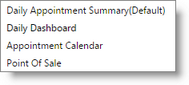
Welcome Screen
Select the welcome screen you wish this employee to open when they log in. The Use Company Default selection is chosen in the company settings.
Service Price Level
The "Service Price Level" is the level associated with the price levels you setup for services. This is the price level that your employee will charge their clients. If you do not have different price levels based on experience, the "Service Price Level" should be set to "Level 1".
Gender
Select the employee's gender. This option may be used with online booking's 'first available male/female' option.
Commission Plan
Select a commission plan here after one has been created in the Commission Plans list. The commission plan is where the commission percent and settings are stored for the commission plan that the selected employee will be under.
Hourly Wage
Enter an hourly wage if the employee has an hourly dollar amount they earn. This can be calculated with payroll and is based on the time between clocking in and clocking out.
Pay Greater of Wages or Commissions
Select this box if you wish the program to determine employee pay based on hourly wage versus the commission plan earnings. Selecting this option will designate to pay whichever amount is greater.
Employee Dates
Enter the employee's "Birthdate" and "Start Date" if this information is available.
Employee Bio
Enter a professional biography for the employee.
Stored Employee Signature
Check this box to open a screen that allows entry of a signature. This is used within the Medspa program to sign off on client treatments.
