
Point of Sale (POS) Options |

|

|

|
|
Point of Sale (POS) Options |
|
|

|
Point of Sale (POS) Options |
|
|
|
|
Point of Sale (POS) Options |
|
|
|
![]()
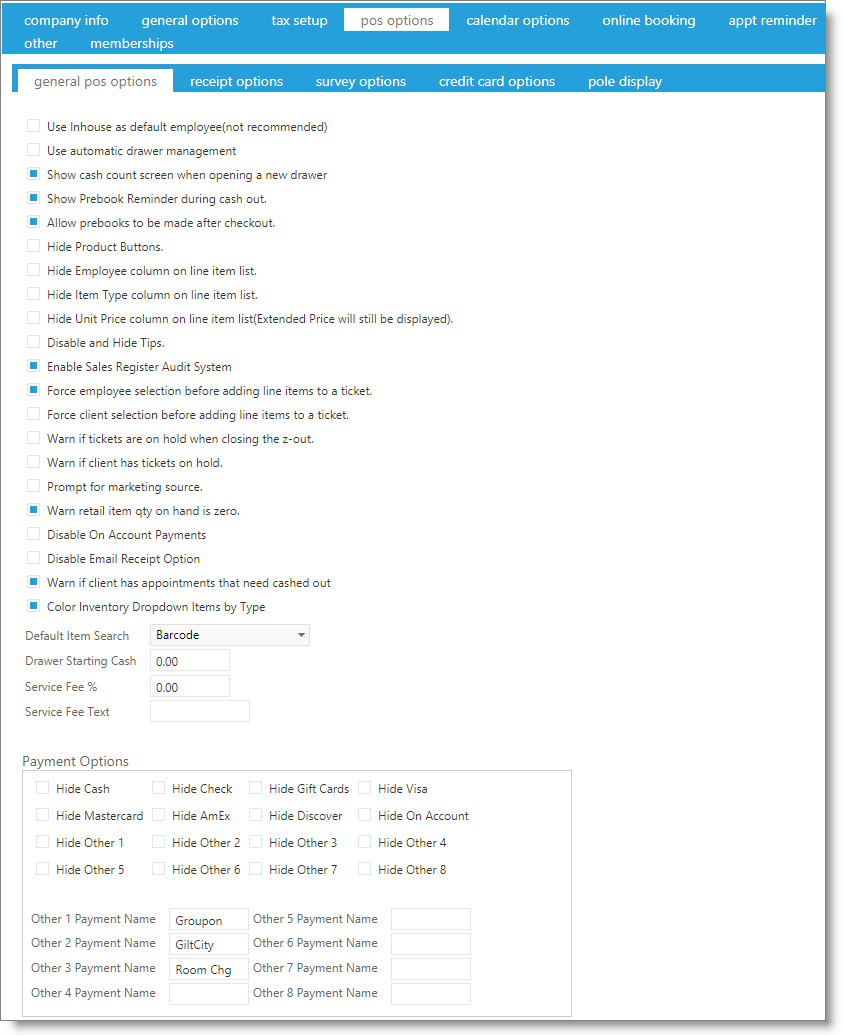
Use Inhouse employee as the default employee
If checked, this option will ring up all unassigned line items under INHOUSE. It's not recommended as it is better to track who is selling products/services.
Use Automatic Drawer Management
Enabling automatic drawer management will only allow one drawer to be opened at a time. Until you Z-OUT and close the drawer, a new drawer will not open. All users will be on the same drawer. Disabling this option allows the business to have multiple drawers open at once. When a user is logged on a computer or device, they will see a prompt to choose the drawer the first time they click on the Sales Register.
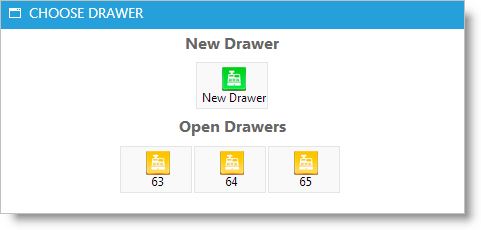
This prompt will allow them to open a new drawer or to select a preexisting drawer to log their sales into. This allows users to be on separate drawers if they are on separate computers or devices. At any time that you want to change drawers or open a new one, you can do so by viewing the Z-Out window and selecting the "CHANGE DRAWER" option. Each drawer created will not closed until you Z-OUT and select to CLOSE the drawer.
Show Cash Count Screen When Opening a New Drawer
Check this box to require that the cash on hand be counted when opening a new drawer on the sales register. If no amounts are entered on this screen, the default amount is what is entered lower on this page in the "Drawer Starting Cash" field.
Show Prebook Reminder during cash out
Check this box to receive a prompt if a client does not have a future appointment. When you click the "Take Payment" button to complete their sales transaction, you will see a window pop up like the one above asking if you would like to create an appointment before checking the client out. If you click "Prebook Now!" the program will open the Appointment Calendar for you to book the appointment. After you have completed booking the appointment, click on the Sales Register to find the ticket where you left off.
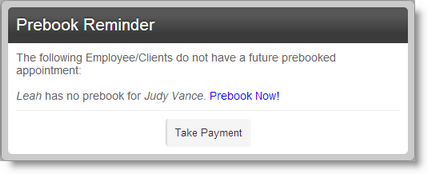
If you click "Take Payment" when the popup appears, it will continue to the payment window.
Allow Prebooks to be made after checkout
Select this option to allow appointments booked after checkout (but on the same day as the appointment checked out) to count towards the prebook numbers.
Hide Product Buttons
Selecting this option will disable product buttons from showing on the Sales Register.
Hide Employee / Item / Unit Price Column on Line Item List

Selecting any of these options will hide the applicable column(s) from the Sales Register screen.
Disable and Hide Tips
This option will not allow tip entry in the Sales Register and hide the tip line on the receipt.
Enable Sales Register Audit System
Check this box to allow detailed tracking of actions performed on the Sales Register screen. This will also create a POS report, "Sales Register Audit Log".
The Sales Register Audit System is available in the Preferred edition of the Envision program. You can upgrade your account on the Account Subscription page. |
Force Employee / Client Selection Before Adding Line Items To A Ticket
Selecting one or both of these options will require entry of the employee or client prior to adding an item on the Sales Register.
Warn if tickets are on hold when closing the z-out
Choose this option to receive a pop-up message when closing the drawer if tickets are on hold.
Warn if client has tickets on hold
Choose this option to receive a pop-up message when selecting a client in the sales register who has tickets already on hold.
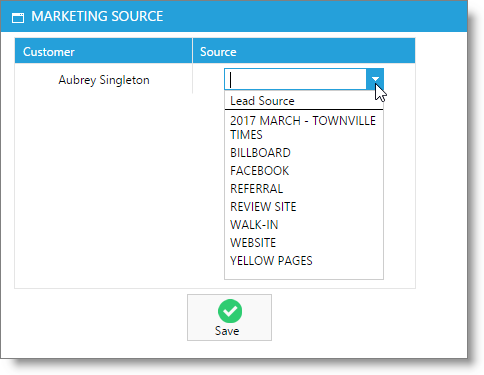
Prompt for Marketing Source
Check this box to enable a pop-up at the sales register to be able to track how a client heard about you for this transaction. This is helpful to track the effectiveness of different marketing campaigns. The sources in this list come from the Lead Source List. A selection entered here will not override the lead source entered on the client profile, but use it for tracking the transaction.
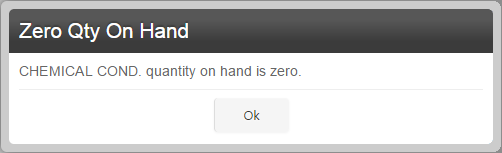
Warn if retail item qty on hand is zero
Select this option to receive a pop-up when adding an item to a sale when there are none on-hand in the program. This can indicate an issue with your inventory.
Disable On Account Payments
Selecting this option will restrict clients from either carrying a balance or credit on their account.
The On Account System is available in the Preferred edition of the Envision program. You can upgrade your account on the Account Subscription page. |
Disable Email Receipt Option
Check this box if you do not wish to offer receipts to be emailed at the end of a transaction.

Allow email receipts

Disable email receipts
Warn if client has appointments that need to be cashed out
Check this box if you would like a pop-up warning that a client has appointments on the calendar, if the client is purchasing something else prior to the appointments being cashed out.
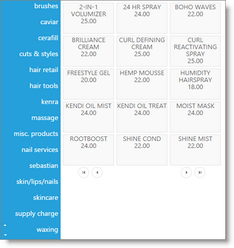
Color Inventory Dropdown Items by Type
Check this box to show different colors for retail, services, packages, and other type items. These color differences show when choosing the item from the dropdown selection box in the upper right of the sales register screen.
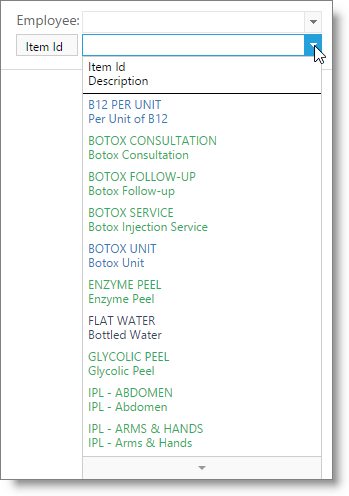
Default Search
This allows you to set the default search selection in the POS screen to either Item ID or Barcode.
Drawer Starting Cash
Enter a starting amount of cash in your drawer. This amount is used in the Z-Out report to calculate deposits. This amount can be used as the default amount when opening a new drawer on the Sales Register screen, if the option to "Show Cash Count Screen When Opening a New Drawer" above is selected, but no amounts are entered.
Service Fee %
Enter a percentage service fee to charge clients. This amount is automatically calculated in the Sales Register and will show at the bottom of the screen. This amount will also print on receipts for clients.
Service Fee Text
Enter a custom name for the service fee entered above.
Hide Payment Types
Select any payment types here that you do not wish to show on the Take Payment screen.
Other Payment Names
Entering names here for Other Payment Types will reflect that name across the sales register and various reports.
