
Check In Client |

|

|

|
|
Check In Client |
|
|

|
Check In Client |
|
|
|
|
Check In Client |
|
|
|
![]()
Selecting to check in a client will mark the client's appointments with the checked-in icon, allowing you to see at a glance the clients who are ready to start, or have begun service.
If the option to "Use enhanced check-in window to verify customer contact information and addons" is selected in your Company Settings, you will receive a pop-up box similar to the one below.
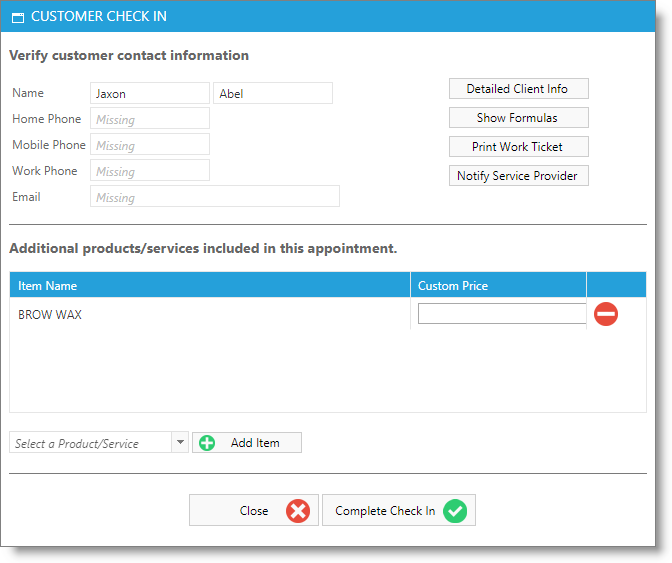
This box is useful to quickly update client information to the upper left. You can also view information about the client, formulas and print work tickets by using the buttons in the upper right.
Selecting the button to Notify Service Provider will send a message to the provider to alert them that the client has checked in. This option does require that the business have marketing SMS enabled.
Two-way SMS text messaging is available as an add-on to Envision Cloud. You can add this feature to your account on the Account Management Subscription Page |
The bottom section allows you to add extra items to the client's services without adding time to the appointment schedule.
The calendar note popup will display the time that a client was checked in.

