
User Interface |

|

|

|
|
User Interface |
|
|

|
User Interface |
|
|
|
|
User Interface |
|
|
|
Use the following information to learn how to navigate through Envision Cloud. It is best to become familiar with the interface so that you may become familiar with the fastest method for accessing screens and features in as few steps as possible.
Daily Appointment Summary
This is the default page that you'll see when you first log in to Envision Cloud. It displays the list of appointments and clients that are on the calendar for the current day. You can access this screen by clicking on your company name. The default welcome page can be changed in your Company Settings, and can be set individually per employee on the corresponding employee profile.
![]()

Menu
The Menu is located in the far upper right of the screen. This provides access to your Company Settings that allows you to change general information and select functionality preferences. If the current user logged in is the Envision Cloud account administrator, you'll also be able to go to your subscription settings.
This is also where you'll log out of Envision Cloud.
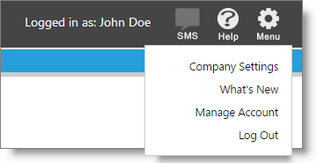
When there are changes or updates that the employee who is logged in has not yet seen, an indication of updates will show in this area. This indicator will no longer show once the updates are viewed.

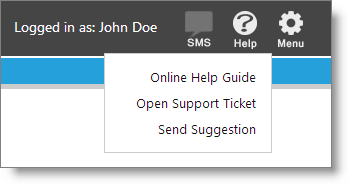
Help Menu
Here you can access the this Online Help Guide no matter which screen of Envision Cloud you are on. Are you having trouble or need help beyond what this guide can provide? Select "Open Support Ticket" and describe your issue. Our customer support team will get in touch with you.
You can also send your suggestions of changes or enhancements to our team via the "Send Suggestion" option. We like hearing our clients' ideas, so please share yours.
Tool Bar
The Tool Bar provides access to all windows and features of the program. You may setup security profiles that allow different levels of access to each option election.

Side Options
Side Options will appear on the left side of many screens as you navigate through Envision Cloud. These options will grant you functions such as saving changes, adding records, and more. Take note of the options you have available as you open different screens.

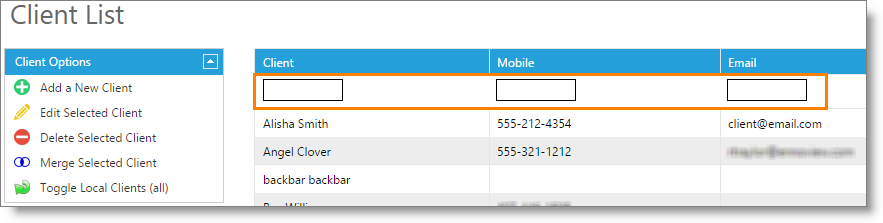
Search Fields
Most screens that contain a list of records have the ability to search though those records. The blank fields above the columns act as a search bar. These allow the user to quickly locate a record from a large listing.
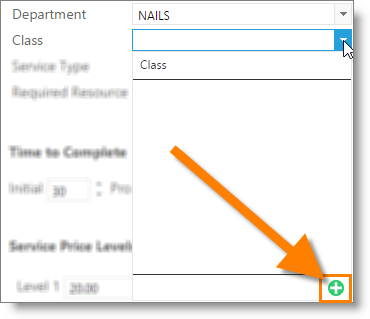
Quick Add Option
Quick Add will allow creating information in drop down selection boxes "on the fly". Click the green plus sign to enter a corresponding item. In the example below, a new class can be entered.
Right-clicking in the Envision Cloud Program
| o | On an Apple computer, hold and click. |
| o | On a mobile device, tap and hold. |
