
Client Images |

|

|

|
|
Client Images |
|
|

|
Client Images |
|
|
|
|
Client Images |
|
|
|
Client images are available in the Medspa version of Envision Cloud. You can upgrade your account on the Account Subscription page. |
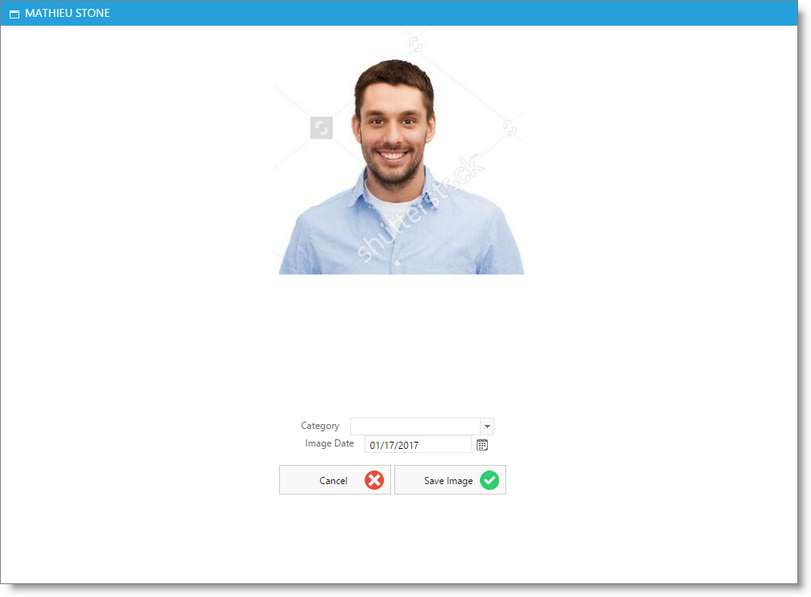
Client images may be added to the treatment screen by uploading them.
Steps to upload client images:
| 1. | Select the Client Images button in the upper left of the treatment screen. |
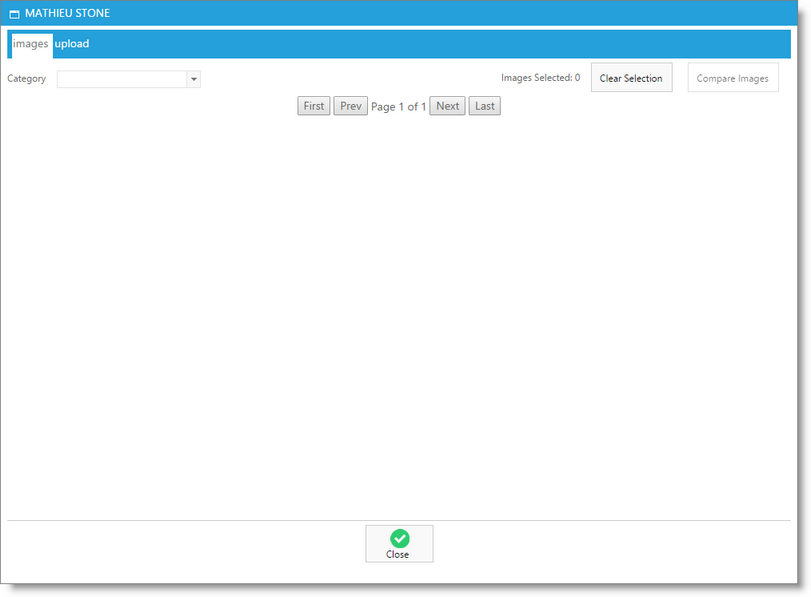
| 1. | Select the Upload tab to the upper left of the window. |
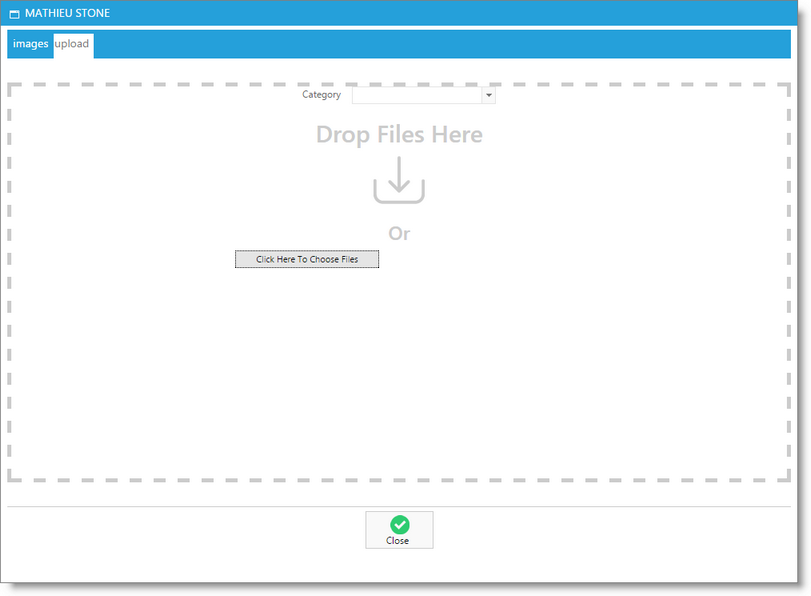
| 1. | Drag and drop files to the window, or select the Click Here to Choose Files button to navigate to the image file you wish to upload. |
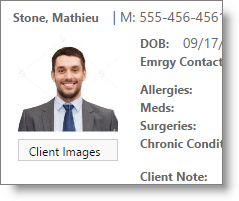
Once uploaded, client images will show the date of upload below the image. The client image tools show below each image as well. You may use these tools to do different things with the images.
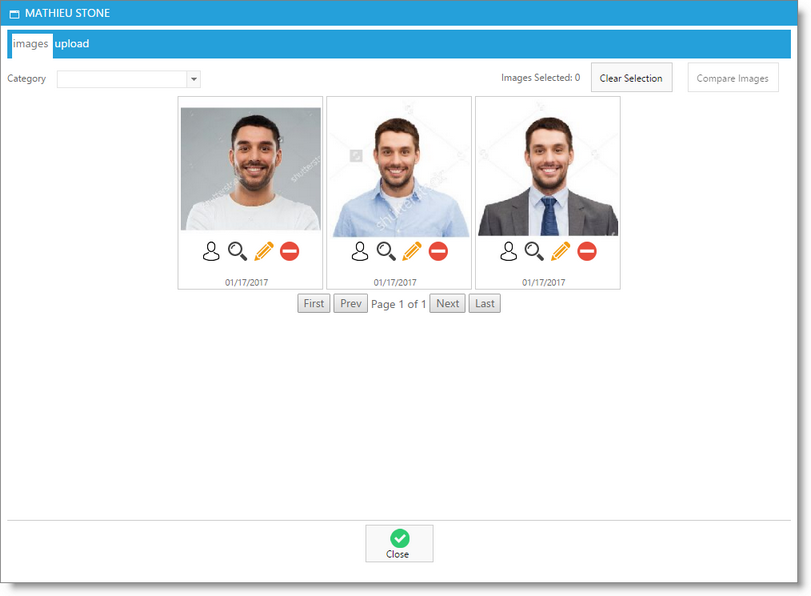
Client Image Tools:
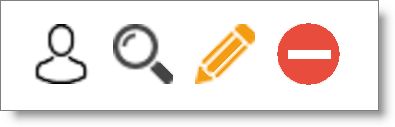
Selecting the first icon of the person's head and shoulders sets the image to show on the treatment screen.
Selecting the magnifying glass or pencil icon will show you a larger size of the image.
Choose the red circle to remove the image from the client's treatment record.
