
Client List |

|

|

|
|
Client List |
|
|

|
Client List |
|
|
|
|
Client List |
|
|
|
This is where you can manage your client records. Click on the "New" or "Edit" buttons on the left of the Client List. Also, if you double-click on top of a record, the Client record will open so that you may make edits. When entering a new client, you will fill out all the information on the first screen. The blank fields shown above columns allow the user to search and quickly locate a record from a large list. Clients can also be added to your Client List from the Sales Register screen and the Appointment Calendar.
To open the Client List, click on Client in the Tool Bar of Envision Cloud and select Client List from the drop down menu.
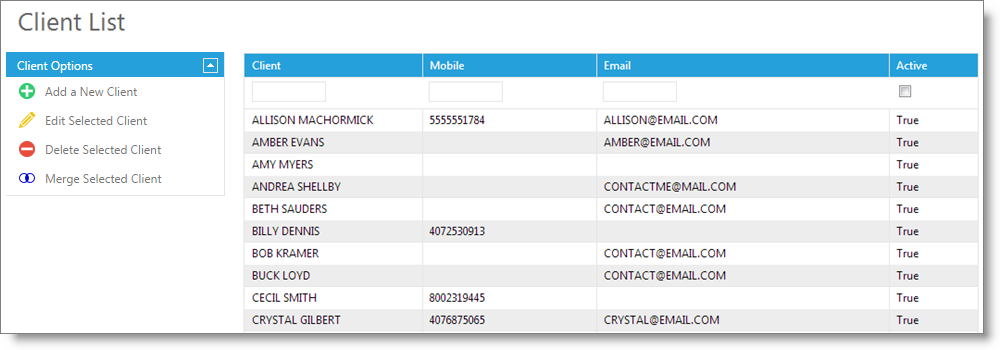
Delete Selected Client
Click once over a client record and click here to delete the client record.
Warning: Deleting a client will remove all client information, appointments and purchase history. This is non-reversible. It is recommended to deactivate rather than delete clients who have any history with your business. |
Merging client records may be necessary if a client name is spelled incorrectly or a duplicate record is created. To merge a duplicate client, click once over the duplicate client record to select, then choose to merge the record.
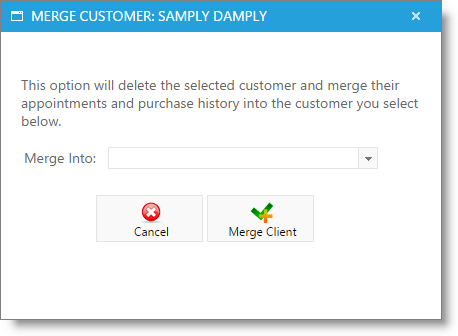
Select the correct or original client record in the drop down and click to merge clients.
Important Note: This will remove the duplicate client record. This feature will not merge demographic information (address, phone numbers), so you will want to verify that the profile chosen in the drop down selection contains all client information prior to the merge. |
